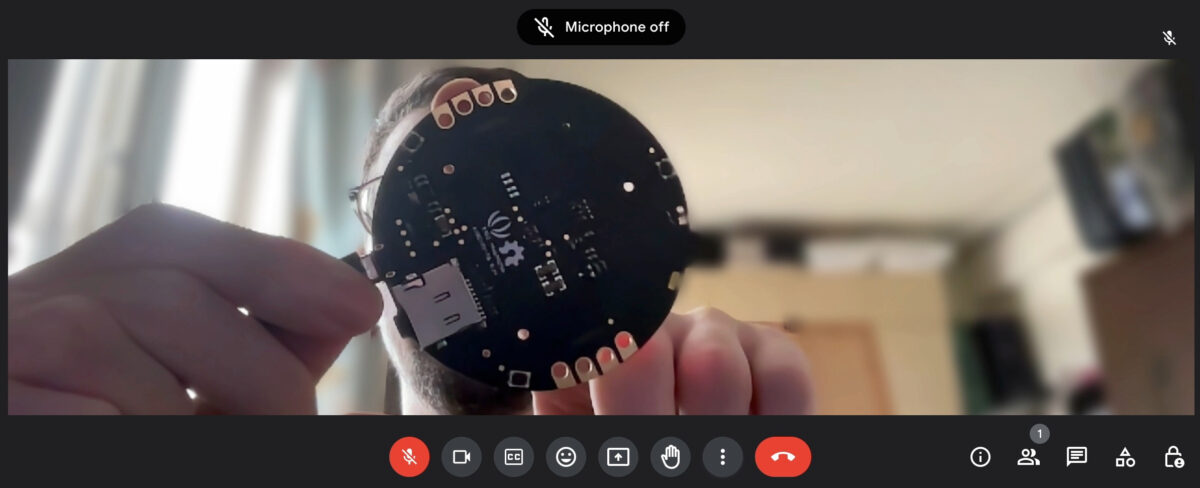
I use Google Meet every day for (potentially hours of) online meetings at work, so it’s very easy to notice when things change and for example new features are available. Recently I’ve found a new “Call Control” section in the settings that promised a lot of fun, connecting USB devices to control my calls.
Google Meet Settings menu during a call, witht the Call control section
As someone who enjoys (or drawn to, or sort-of obscessed with) hacking on hardware, this was a nice call of action: let’s cobble together a custom USB button that can do some kind of call control1: say muting myself in the call, showing mute status, hanging up, etc.
This kicked off such a deep rabbit hole that I barely made it back up to the top, but one that seeded a crazy amount of future opportunities.
This week I got a Wio Link prototype from a friend at Seeed Studio. It is an ESP8266-based little Internet of Things board with 6 Grove connectors for easy device connectivity, wifi networking, and controlled over an app & the Internet. For a quick project I wanted to hook it up with Home Assistant, an open source home automation platform that I read a lot about lately. The main focus was to have a first impression of both parts, and build up some experience for future, more serious projects.
The target solution: light up an LED if a particular person is at home location. Sort of a basic alarm system, though notice that the location of the LED was not mentioned – it can actually be anywhere in the world, as long as there’s Internet connectivity.
Wio Link was introduced in Seeed’s Kickstarter campaign, where they have raised more than 8x of their original target. It looks like a neat little board, and was happy to try out when I got my hands on one.
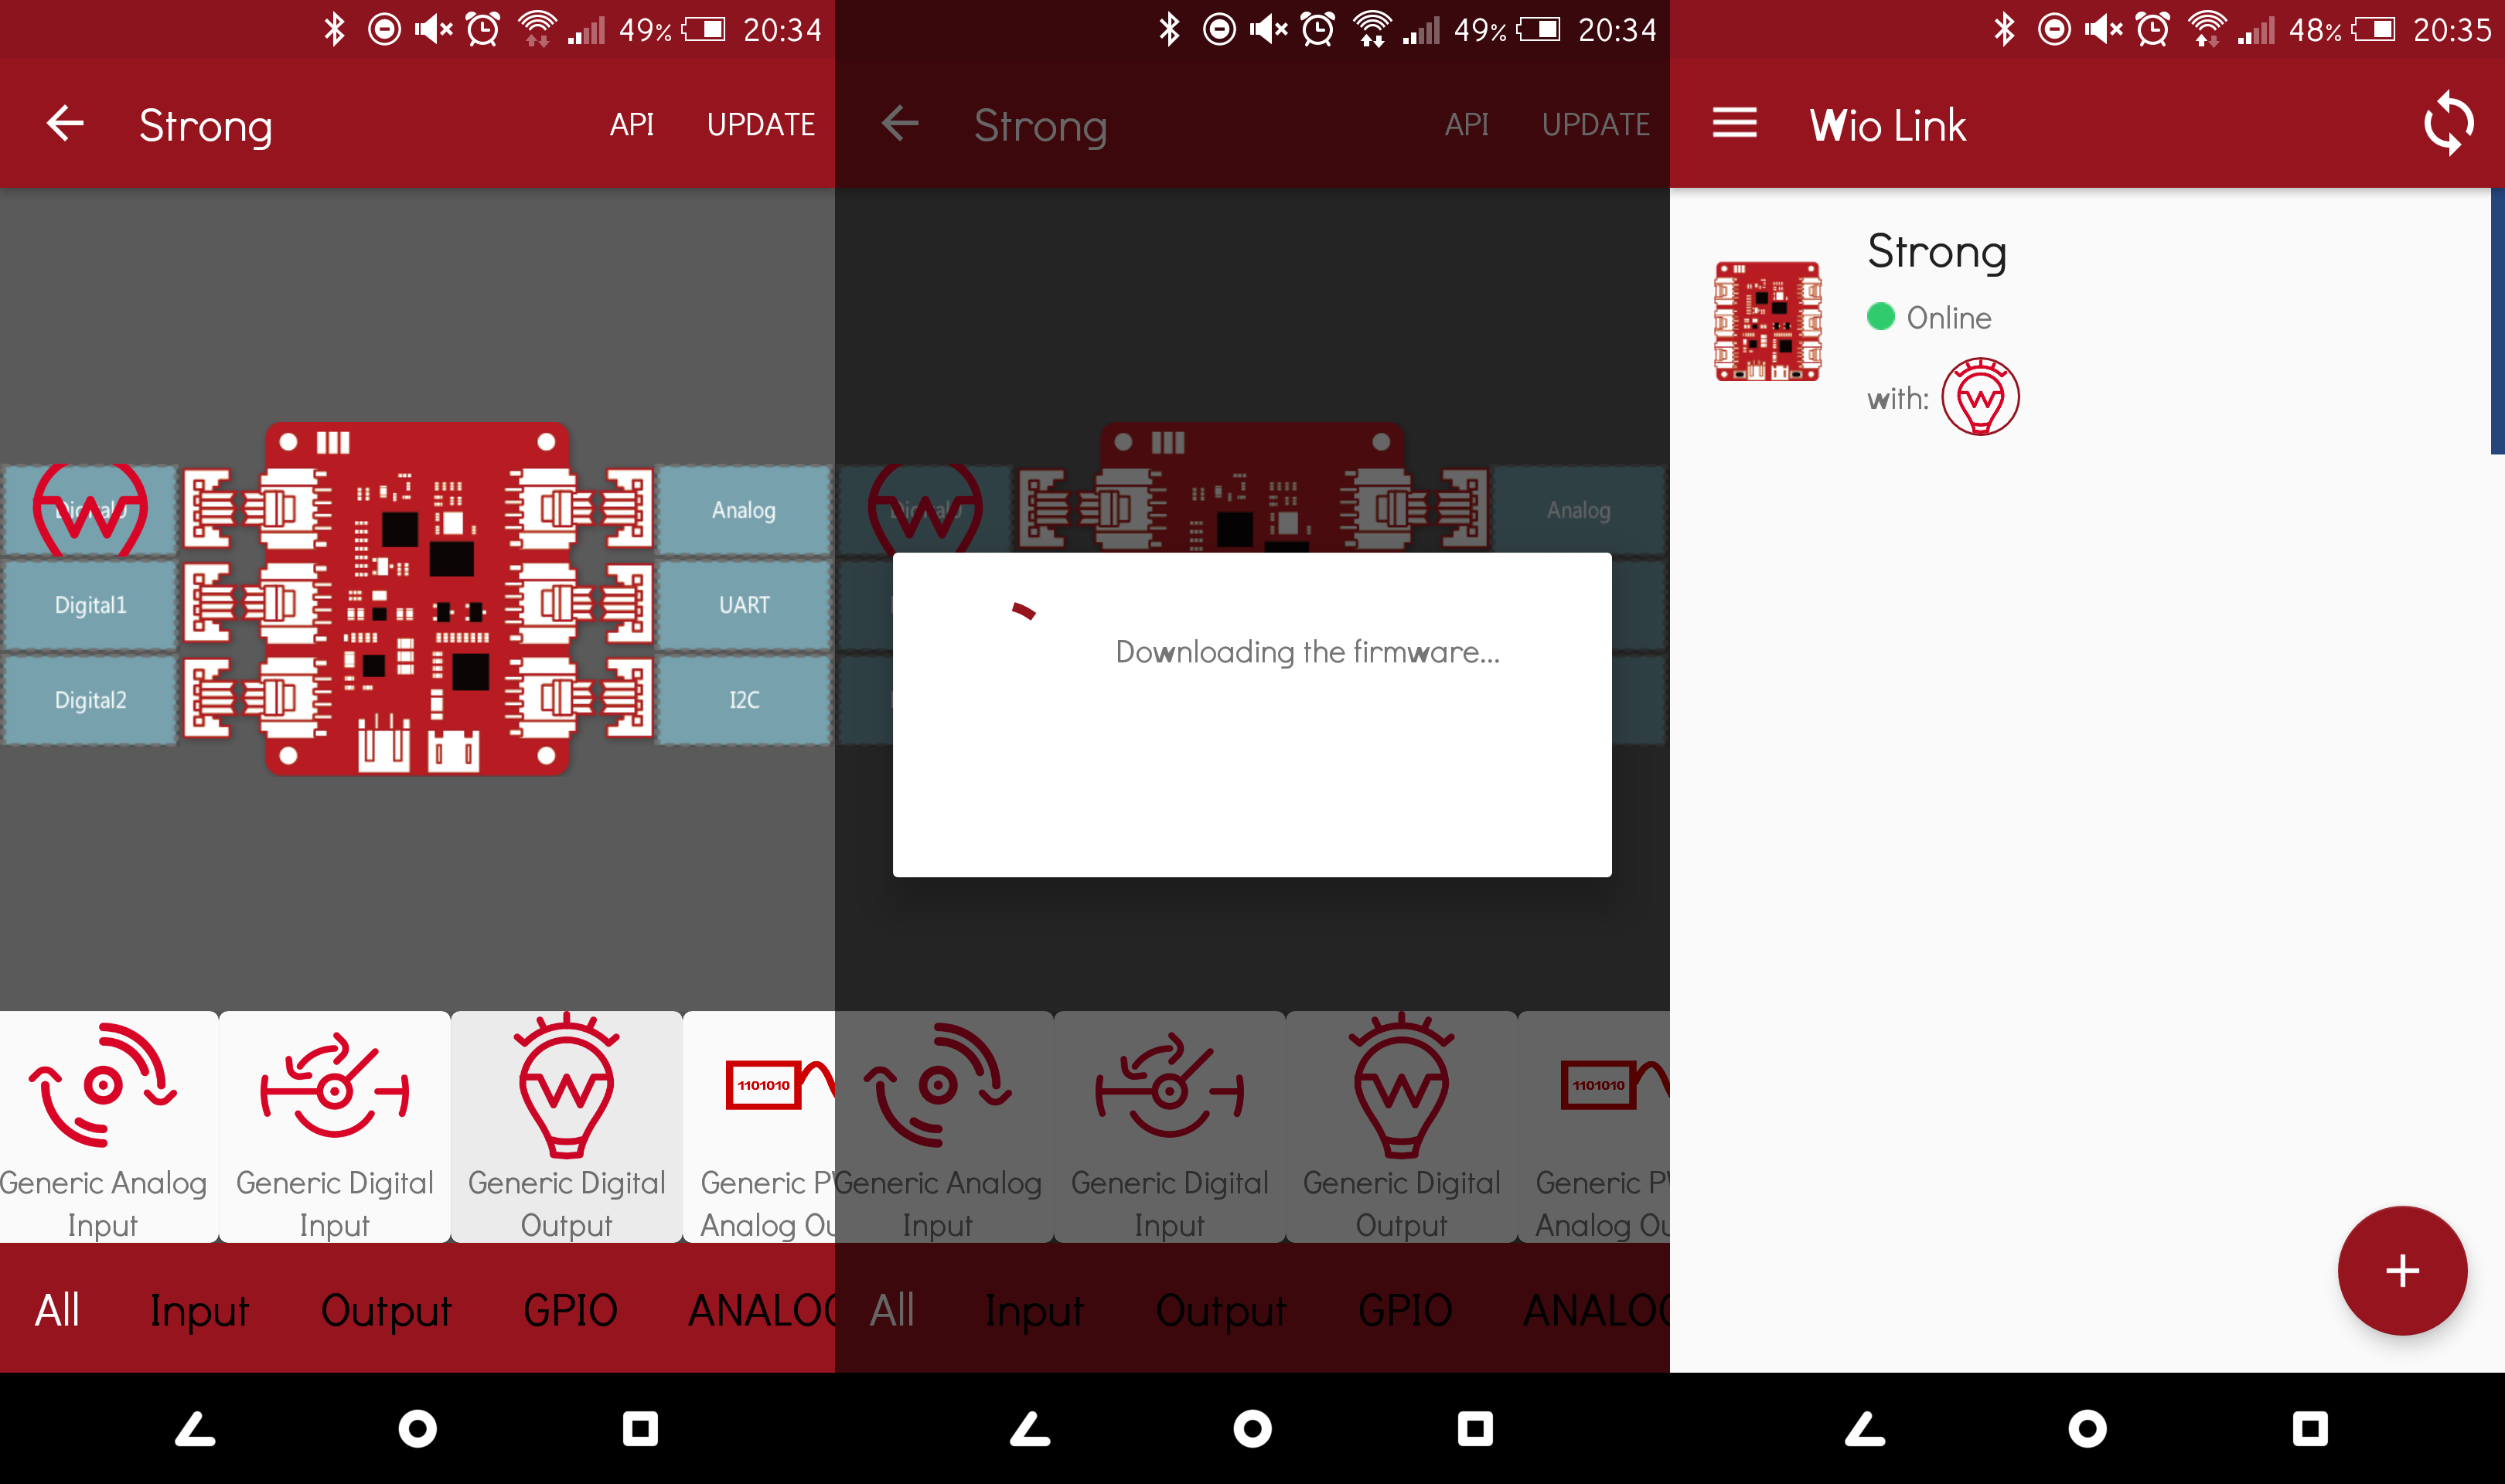
Their wiki page has quite a bit of information, so it was easy to get started. Connect to power, hold down the configure button till the LED lights up in a “breathing” pattern, connect through their Wio Link app, set up the wireless network settings and so on. Once connected, can define what kind of devices are attached to the board, and it looks like most of Grove devices are represented there. I only had a Grove LED at hand, so added it (“Generic Digital Output”), updated it, which created a new firmware and pushed onto the device.
Wio Link setup process (left to right): add device, update firmware, check status
The first update took a couple of minutes, but it’s pretty straightforward. The device then also has an API link, which brings up a web page with all the options to query, control, and reset the attached accessories (in my case that’s the one digital output).
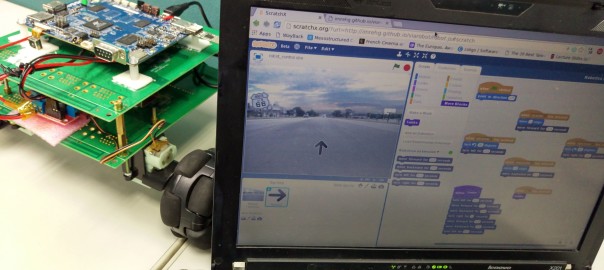
Recently I’ve been experimenting with the Scratch programming language, created by the Lifelong Kindergarten Group at MIT. It’s a fun environment that uses visual programming: drag-and-drop pieces of code blocks, and control objects on a stage, and the stage itself. It has quite a bit more depth to it, than the expression “visual programming language” implies, with it’s internal messaging system, multitasking, and event-driven approach. While it was originally aimed at creating interactive graphics and animations (see this TEDx talk by Prof. Mitch Resnick on the background), it is now evolving into new territories with the Scratch Experimental Extensions.
I while back I’ve exchanged some of my points earned from posting projects to a MediaTek LinkIt One on the Hackster.io Store. This is my first project with that, trying to do something different than what I can do with the hardware I (literally) amassed so far. Being an expat and traveller, GPS / location sensing is always a timely topic, so set out to build something around that.
It was a long typhoon day when I started experimenting with the LinkIt one, and and as rainy days go – I’ve felt it would be great to know how far am I from home? Of course there’s a GPS in every single smartphone these days, but a dedicated device can still evoke a different feeling. So the idea for Dorothy came about.
Basic version: where are are you?
Dorothy – Long way from home
The basic idea is connect the GPS module and a Grove LCD RGB Backlight screen, and colour-code the distance from home. The LCD speaks I2C, so can directly connect it up to the I2C socket on the LinkIt One.
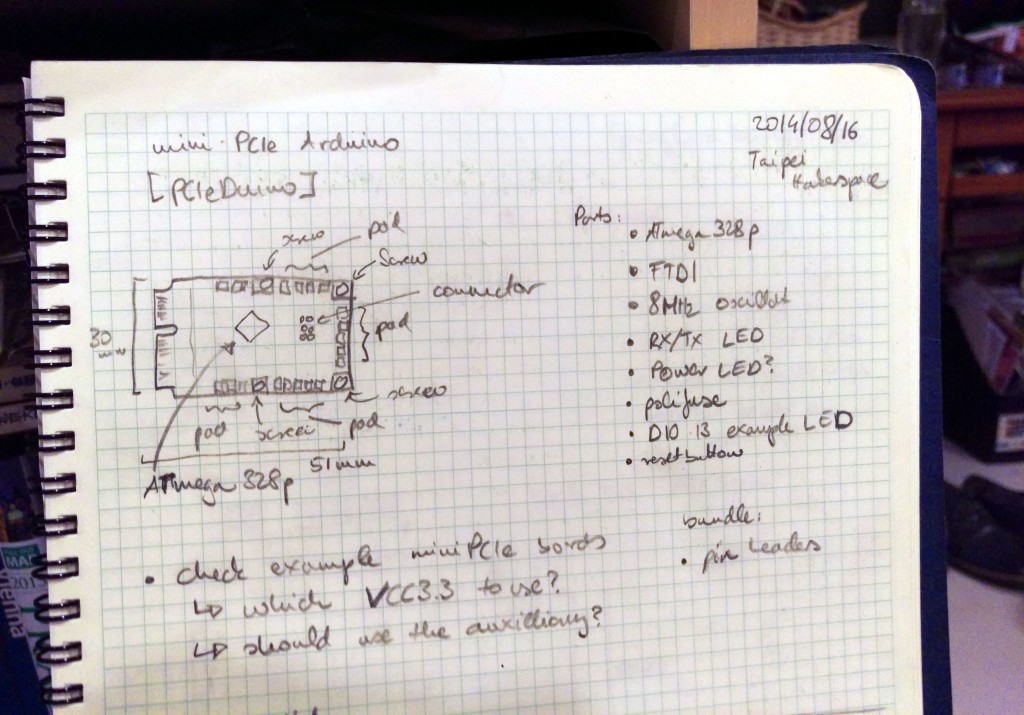
Just a bit more than a year ago I’ve started to work on a hardware idea as a challenge – a mini-PCIe form factor Arduino clone, the PCIeDuino. The inspiration was working with a bunch of embedded boards, especially the VIA VAB-600 Springboard, that had a mini-PCIe connector, but not that many accessories that can go in there. (Disclaimer, I work at VIA at the moment, though this wasn’t a work project). I thought it would be cool to put an embedded-grade microcontroller on these boards, mostly to expand the I/O capabilities.
Idea
The original PCIeDuino sketch in my lab book
Looking at the mini-PCIe specs, the connector has mandatory USB 2.0 lines so communication was solved. The area available, roughly 5.1 x 3.0 cm, is not too bad -more than how big the Arduino Nano is in comparison. The biggest challenge probably was that there are only 3.3V power lines available, and most example designs use 5V power supply.